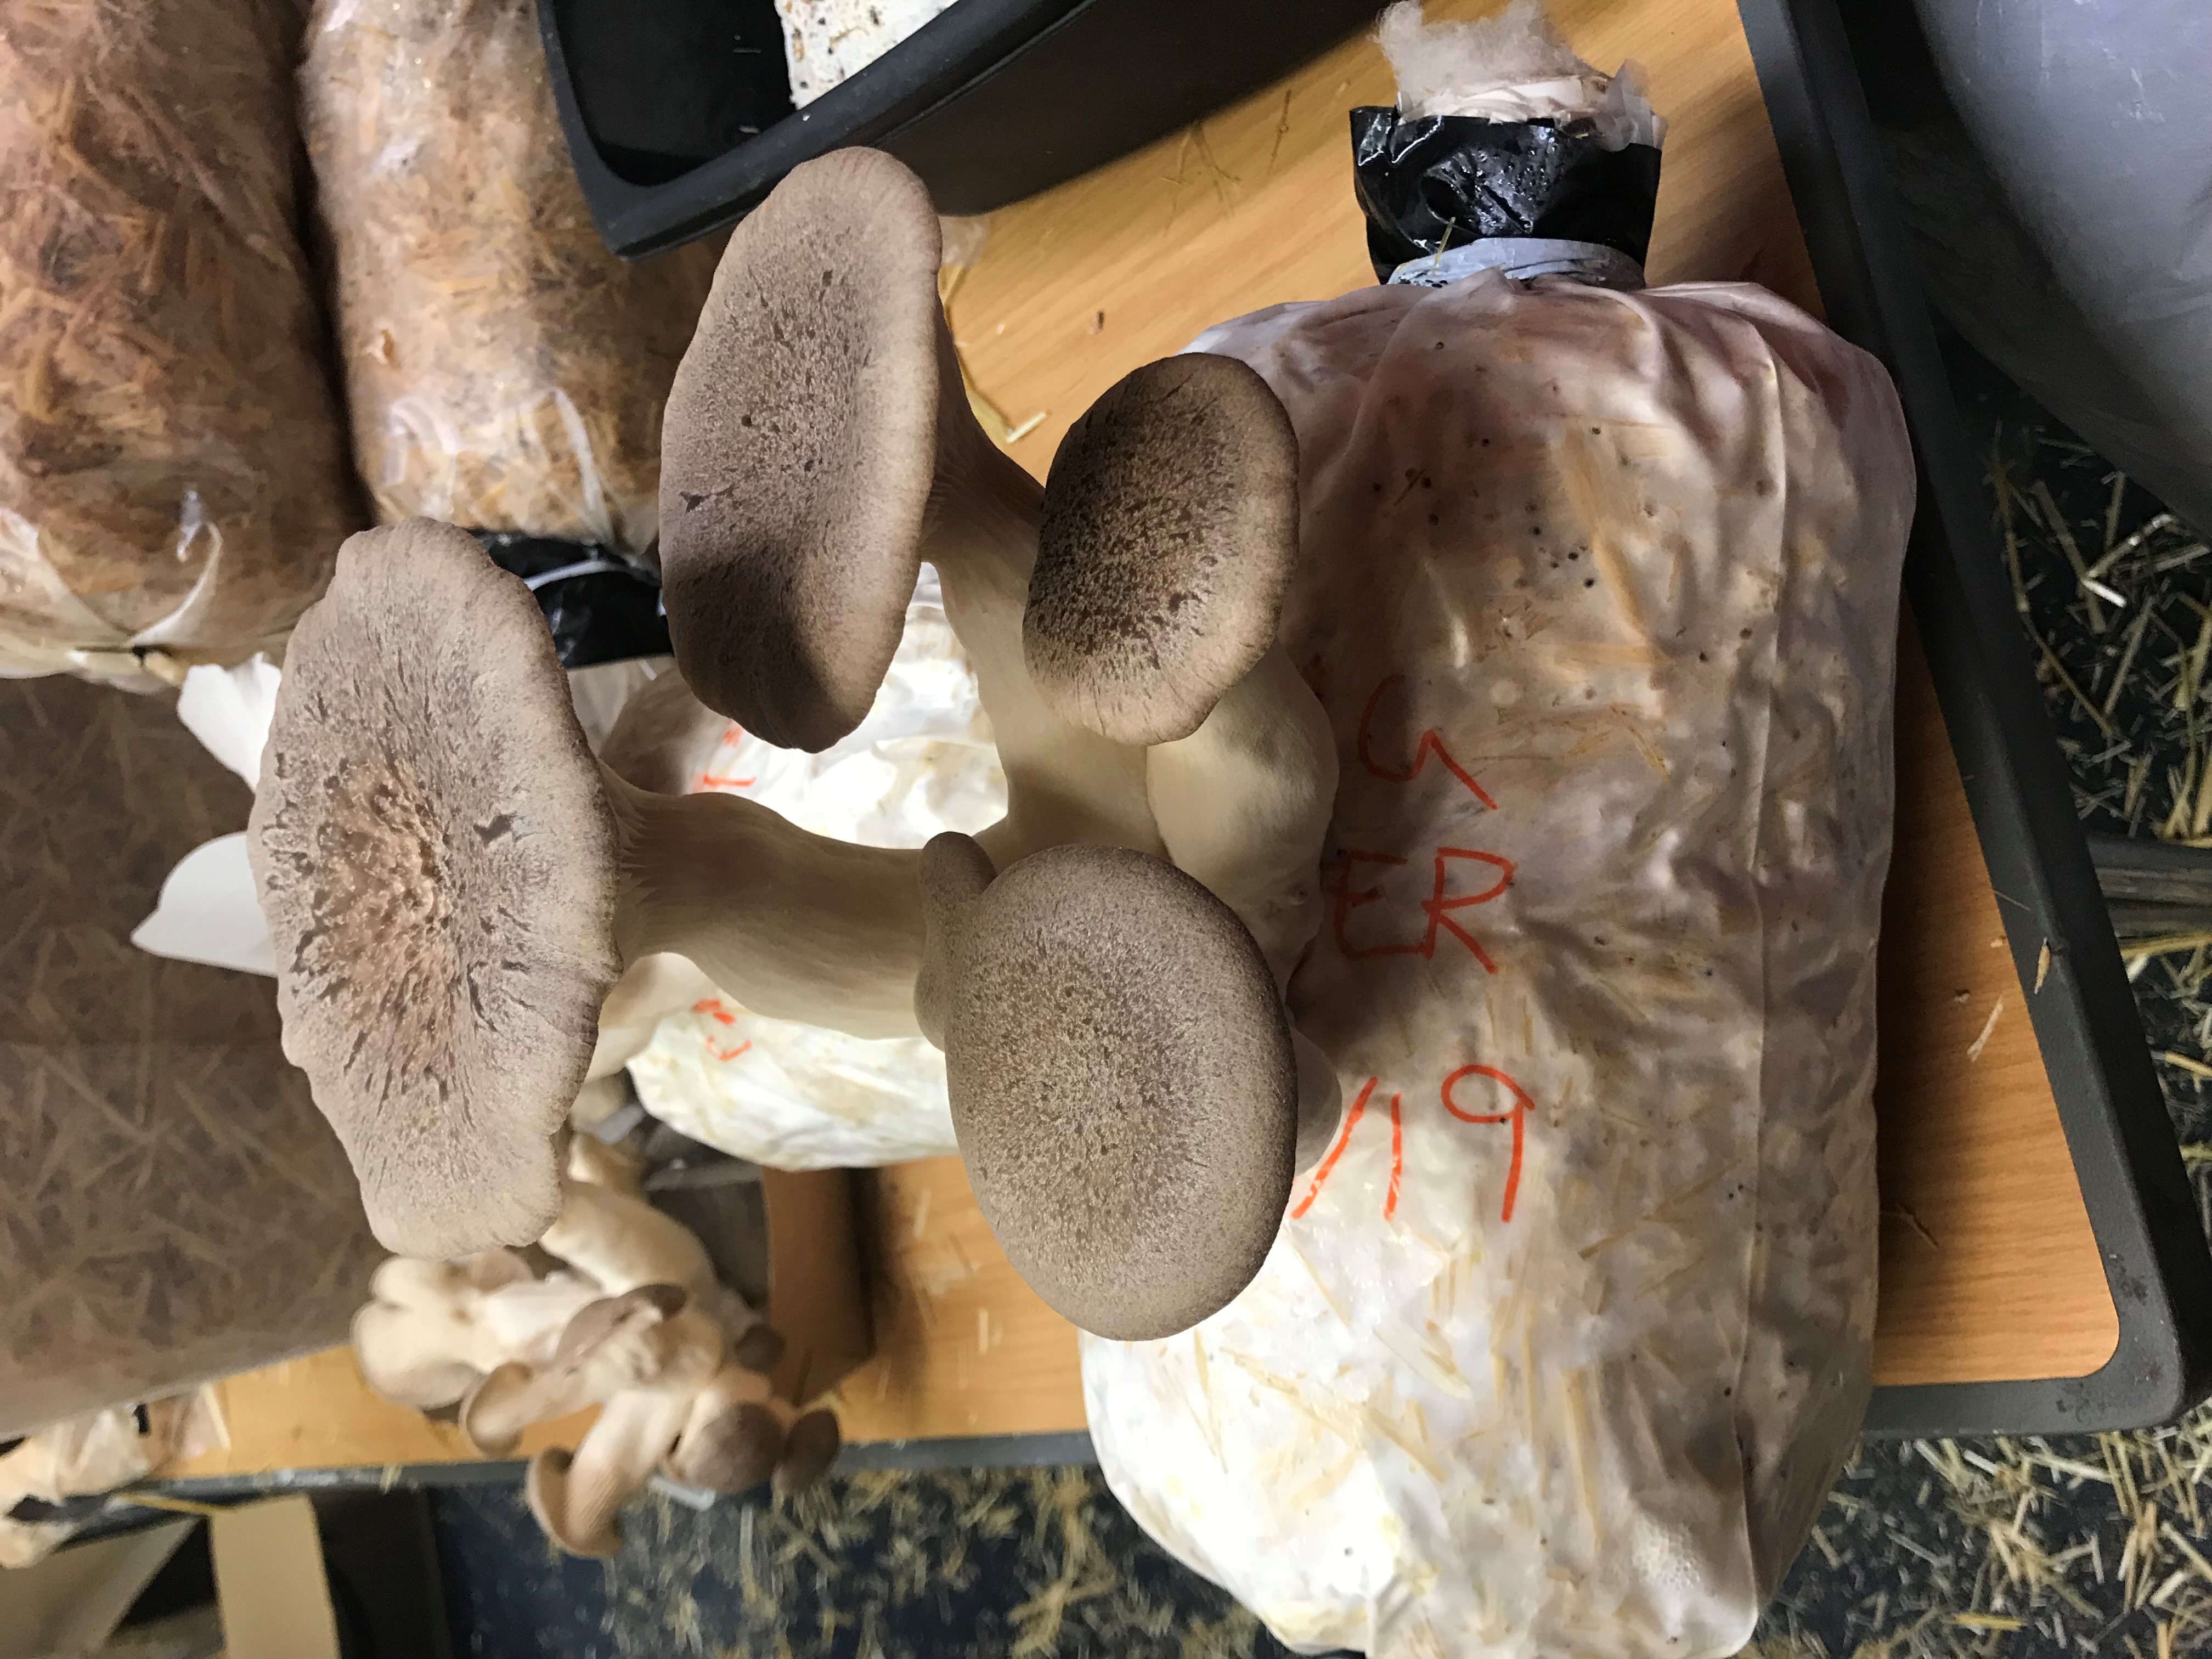
A mushroom growing out of a plastic bag
Blog

Grow Your Own Mushrooms


01 May 2020

Join Somerset House mycologist in residence Darren Springer for a step-by-step guide to starting your own mushroom farm at home.

This family-friendly blog will encourage you to get hands-on with the kingdom of fungi, offering step-by-step instructions on how to grow your own fledgling fungi to nurture and cook with at home. Suitable for all ages, Darren Springer invites you to celebrate the power of mushrooms and discover the integral role they play in the world's eco-system.

Part of Edible Utopia.

Kindly supported by City Bridge Trust.

Materials

For the cardboard spawn prep bag:
-    Brown, non-printed cardboard
-    Small pieces of mushroom stem
-    A polybag – a clean food container or bag with some pin sized holes in it for air exchange
-    A warm, dark place for you to store your cardboard spawn prep bag

For the straw grow bag:
-    Straw
-    A polybag – as above

10 Basic Steps for Making Your Own Mushroom Spawn

This process will allow you to create a “spawn bank”. A spawn bank is anything that has mycelium present, making it perfect for growing mushrooms. As cardboard has little nutrients you won’t get mushrooms from this, but the results of this process can be added to straw, which you can mushrooms grow from.

You can try the cardboard technique with any wood-loving mushroom, from the supermarket, forest, or previous grows – experiment! (But don’t mix types)

If you already have your cardboard spawn bag ready, skip to step 10!

  1. Source cardboard with no ink or writing on it. Remove any tape, staples etc. You'll need large pieces that you can cut or shred into smaller pieces.
     
  2. Pasteurise the cardboard by pouring freshly boiled water over it. Let it cool, and pour off the excess water.
     
  3. Wait 6 – 10 mins and once the cardboard is cool enough to touch separate the layers of card. Squeeze the excess water from the card. This step is important to minimise contamination risk! 
     
  4. Next, you'll need a clean food container or bag. Make some pin sized holes in it for air exchange.
     
  5. Place an even layer of your pasteurised cardboard on the bottom of the container / bag. 
     
  6. Add 3 - 4 small pieces of mushroom, preferably the stem butts, to the sheet of card – less is more and will help the mycelium grow stronger.
     
  7. Cover the mushroom stems with another layer of cardboard.
     
  8. Repeat steps 6 and 7 until the container/bag is filled and finish by adding a final layer of cardboard with no mushroom on the top.  
     
  9. Now seal your container/bag tight. When sealing the bag there's no need to squeeze out all of the air from the bag – oxygen is good! 
     
  10. Store the bag in a warm (ideally around 23°C) dark place and leave for at least 3-4 weeks. The less they are disturbed the quicker they will grow.

Once the cardboard has gone entirely white, it is ready to use as spawn, you can add this to straw to “bulk-up” and grow from with the below process.

10 Basic Steps for Cultivating Mushrooms on Straw

  1. Take your straw and cut into short lengths to maximise surface area, approximately 1-2 inches.
     
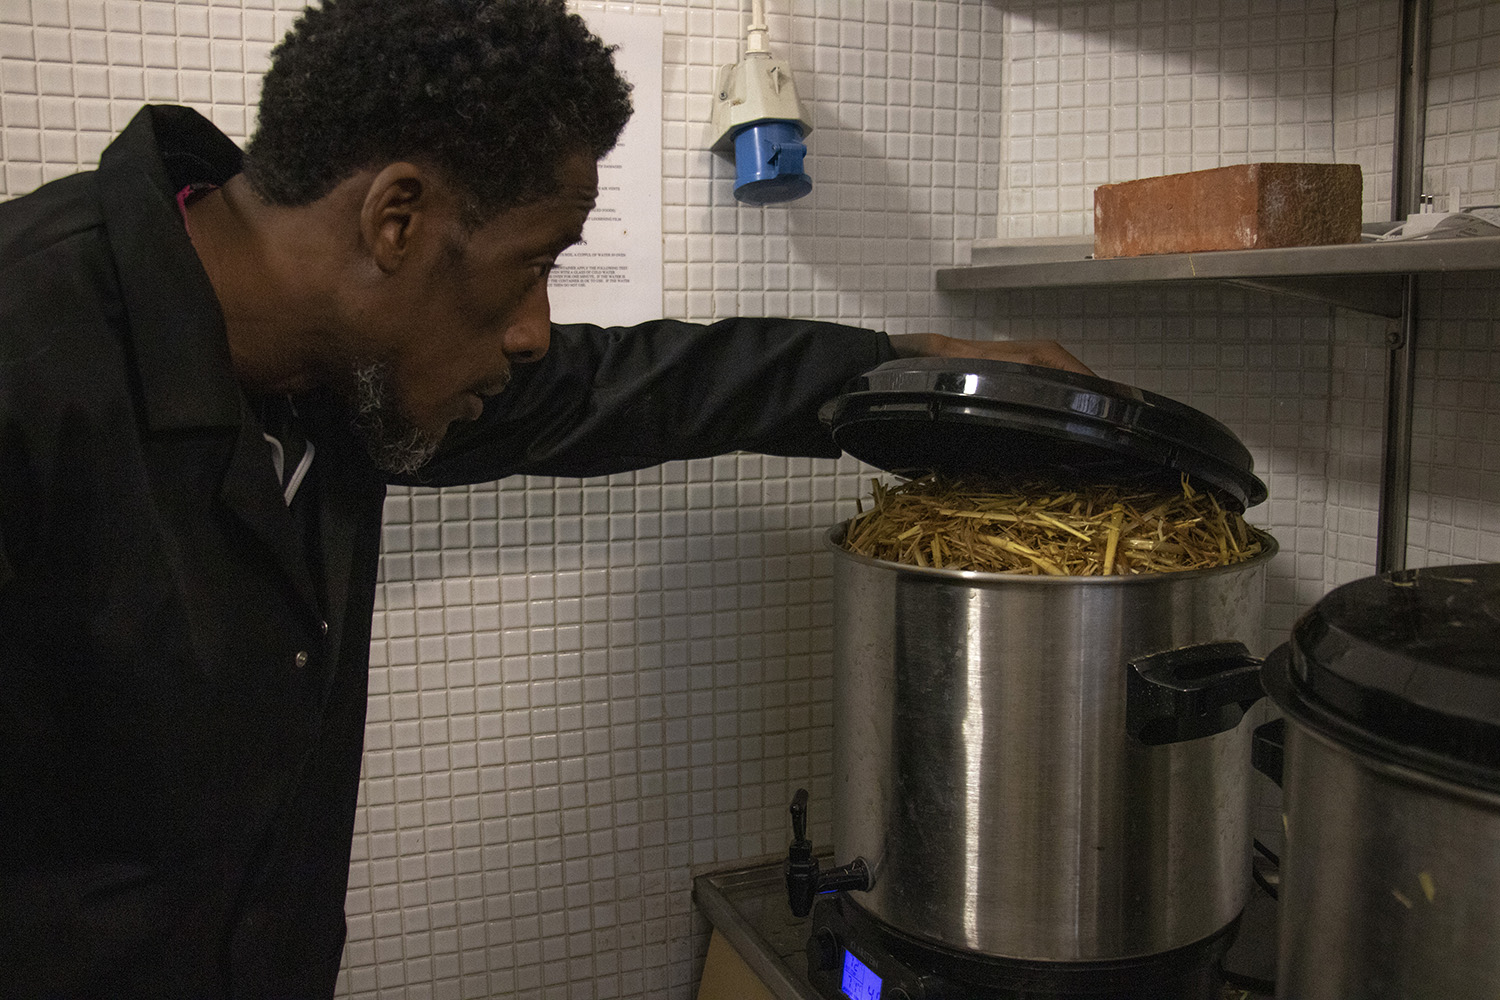
  2. Pasteurise your straw by soaking it in water at a temperature of 72°C – 82°C for 40 minutes to 1 hour. Be careful not to boil the straw as this will remove key nutrients.A man looking at a pot of hay that is pasteurising
     
  3. Drain off the straw and wait for it to cool to room temperature. This should take around 5 – 10 mins. 
     
  4. Add your prepared and cultivated spawn. A ratio of 1:10, spawn to straw is ideal. Mix the two well.
     
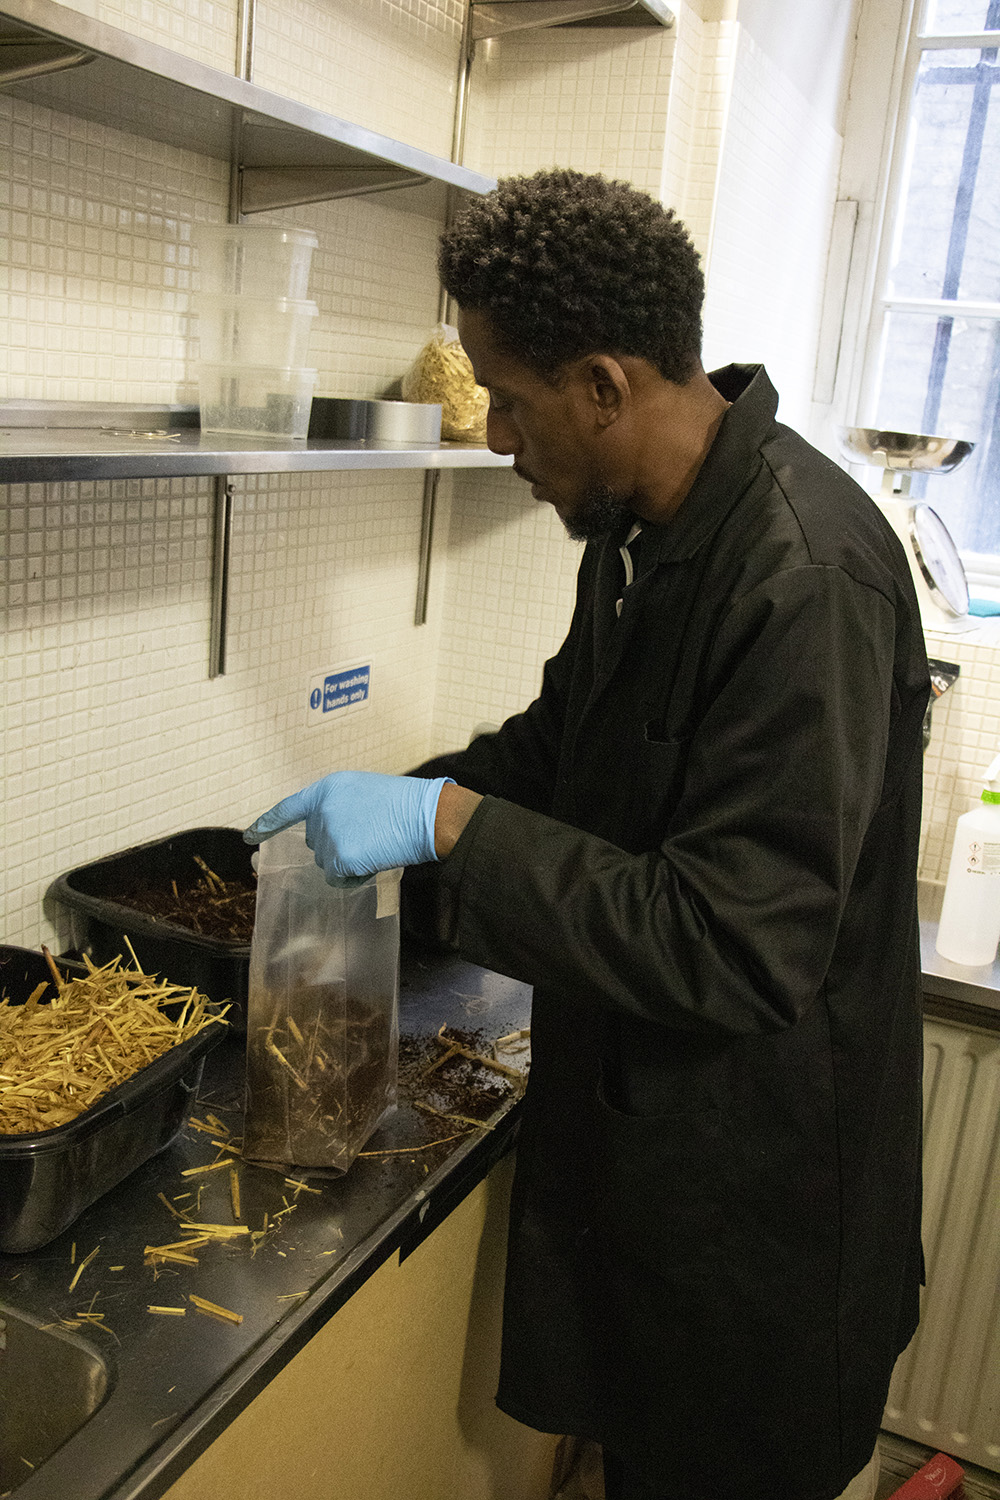
  5. Add the mix to a sealable plastic bag (leaving some air in the bag before sealing, as you did with your cardboard spawn prep bag)
    A man is adding some straw to a plastic bag
     
  6. Pierce the bag with 2-3 pin holes to allow air exchange during colonisation.
     
  7. Store the bag in a dark and warm place (around 18-24°C) for 10-21 days. Avoid the temptation to regularly check on them – they like to be left alone at this stage.
     
  8. Once the bag is completely white with mycelium (sometimes this takes longer than 4 weeks) remove the bag and place in a humid environment. The bag needs to be exposed to fresh oxygen, high humidity, low level light and cooler temperatures between 10-20°C. Carefully cut 2 small holes in the bag for the mushrooms to grow from.

    Tip: to maintain humidity spray the bag with a misting bottle 2/3 times a day and make sure the bags have access to a light source for a few hours a day. To keep the air fresh you can fan them once a day.
     
  9. Over the coming days you should start to see small pin heads (baby mushrooms) starting to grow. It takes 7-10 days for them to mature and be ready to harvest.
     
  10. Once you harvest all the fully formed, matured mushrooms of the bag (called your first flush!), you can leave the bag to get a second and possibly a third flush every 7-10 days.

    Tip: Remove your mushrooms before the cup turns up for the best taste.


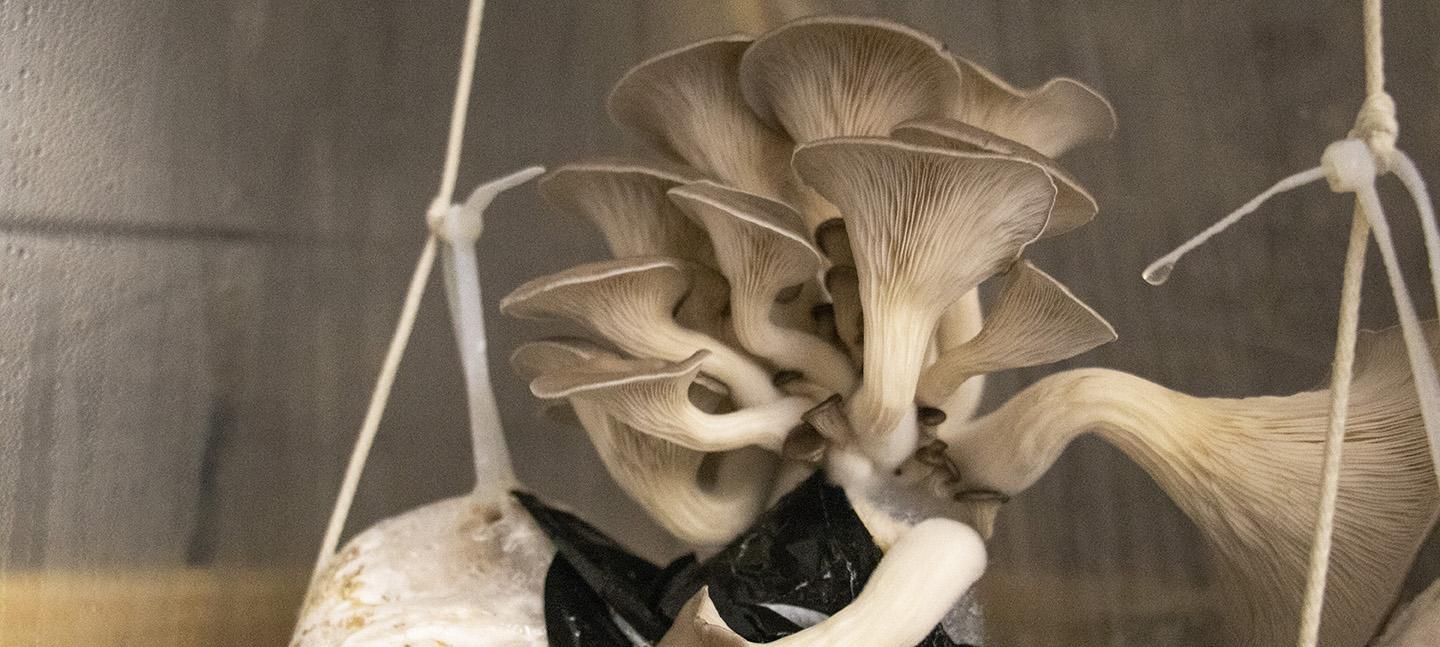
A picture showing fully formed mushrooms growing out of a plastic bag filled with straw

Once the mushrooms no longer look like mushrooms, or no more grow the bag is done. At this point you can add the rest of the bag to pasteurised straw (again at a ratio of 1:10) and begin the process again. In theory, this process can last forever! You can also add this to your compost.

Please note: If at any point there appears to be mold (any green/ black growth) during the process unfortunately your experiment has been contaminated and there is no saving your bag. Just dispose of it - but don’t be disheartened, mushroom growing takes patience and luck!

Supported by